You think it. We create it
Get your custom free quote by calling us on Quality Timber Flooring
or complete our online form today.
Picture yourself in a mystical forest, where every tree is a work of art, and each one tells a story. As you wander through the woods, you notice something remarkable – some trees seem to be glowing with vibrant energy. You are drawn towards them and realize that each tree has its own unique characteristics and uniqueness.
Just like the trees in the mystical forest, each hardwood floor has its own character, style, and requirements. To ensure your hardwood floor shines as brightly as the enchanted forest, you need to know the right approach to sanding and polishing for each type of wood.
In this guide, we’ll take you on a journey through the mystical woods of hardwood floors, revealing the secrets to sanding and polishing for different types of wood.
Sanding: What is it, and when to do it?
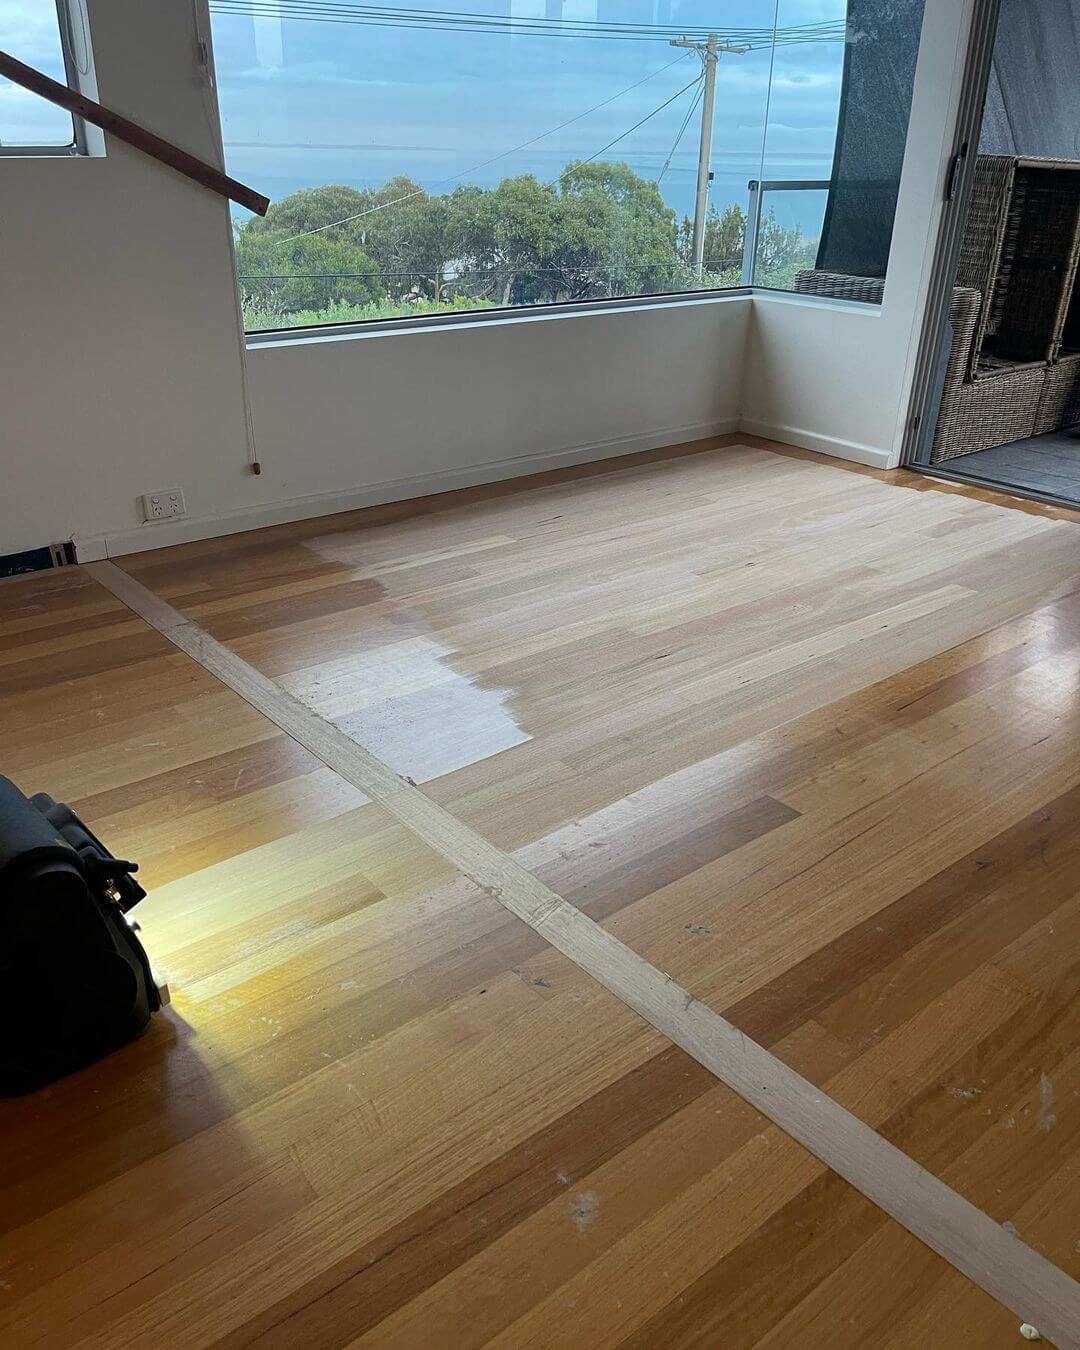
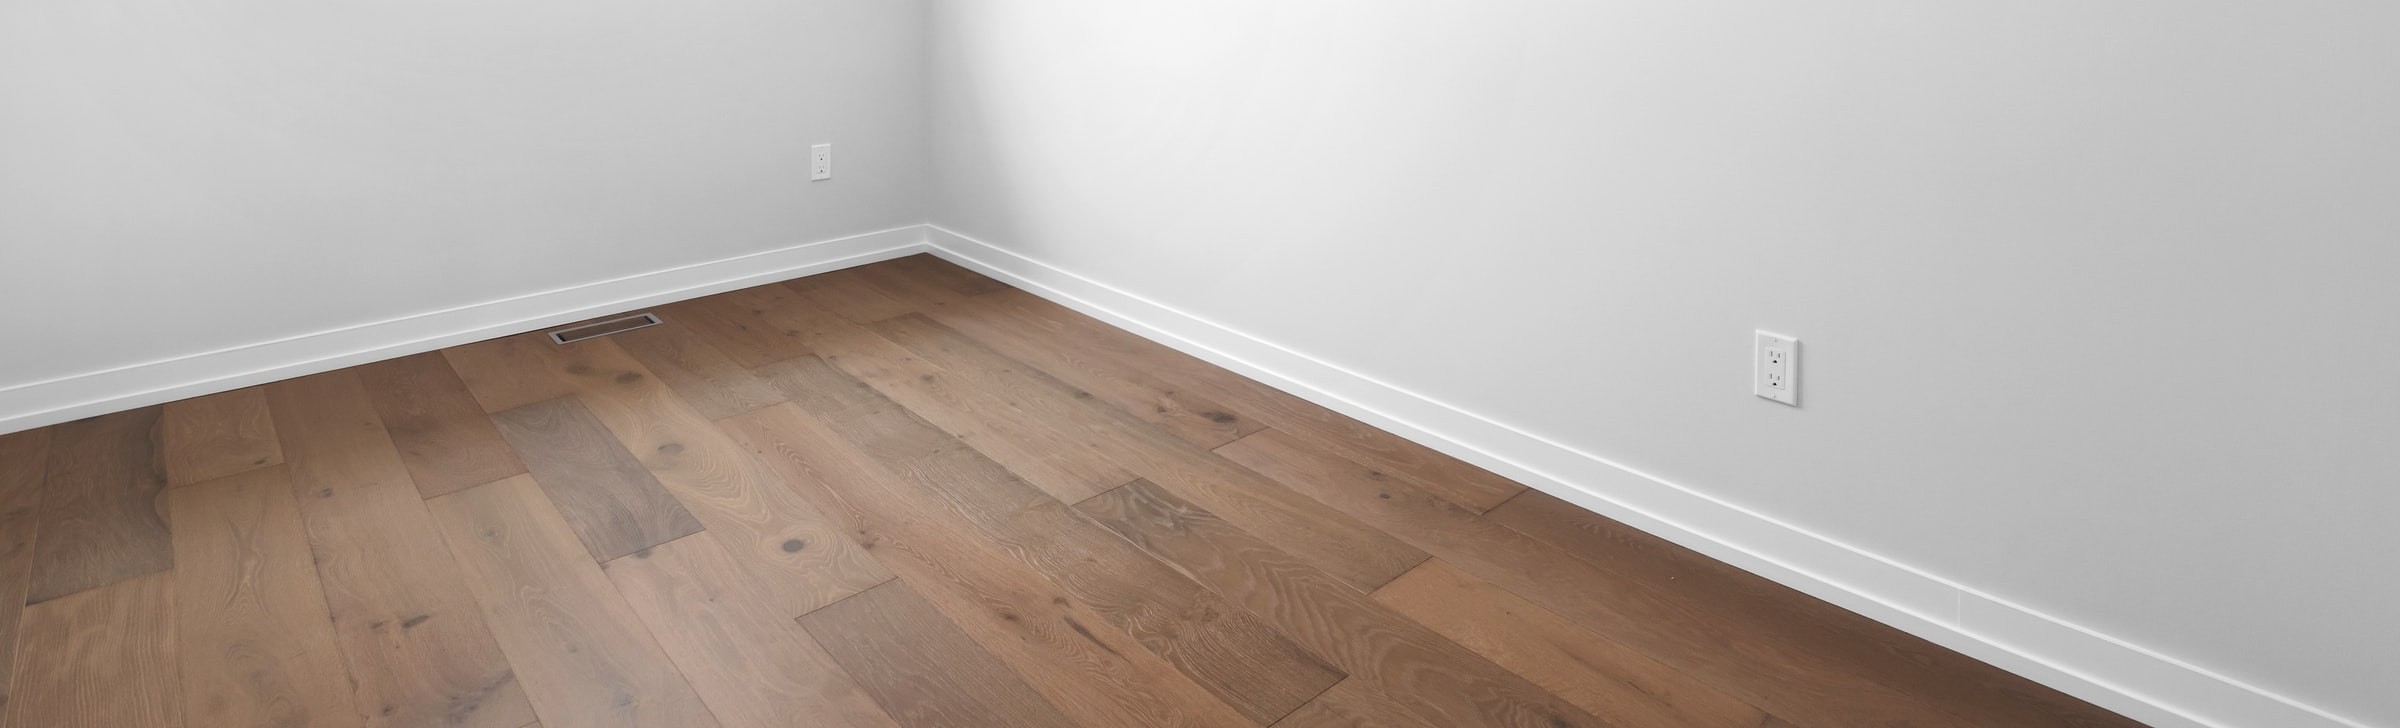
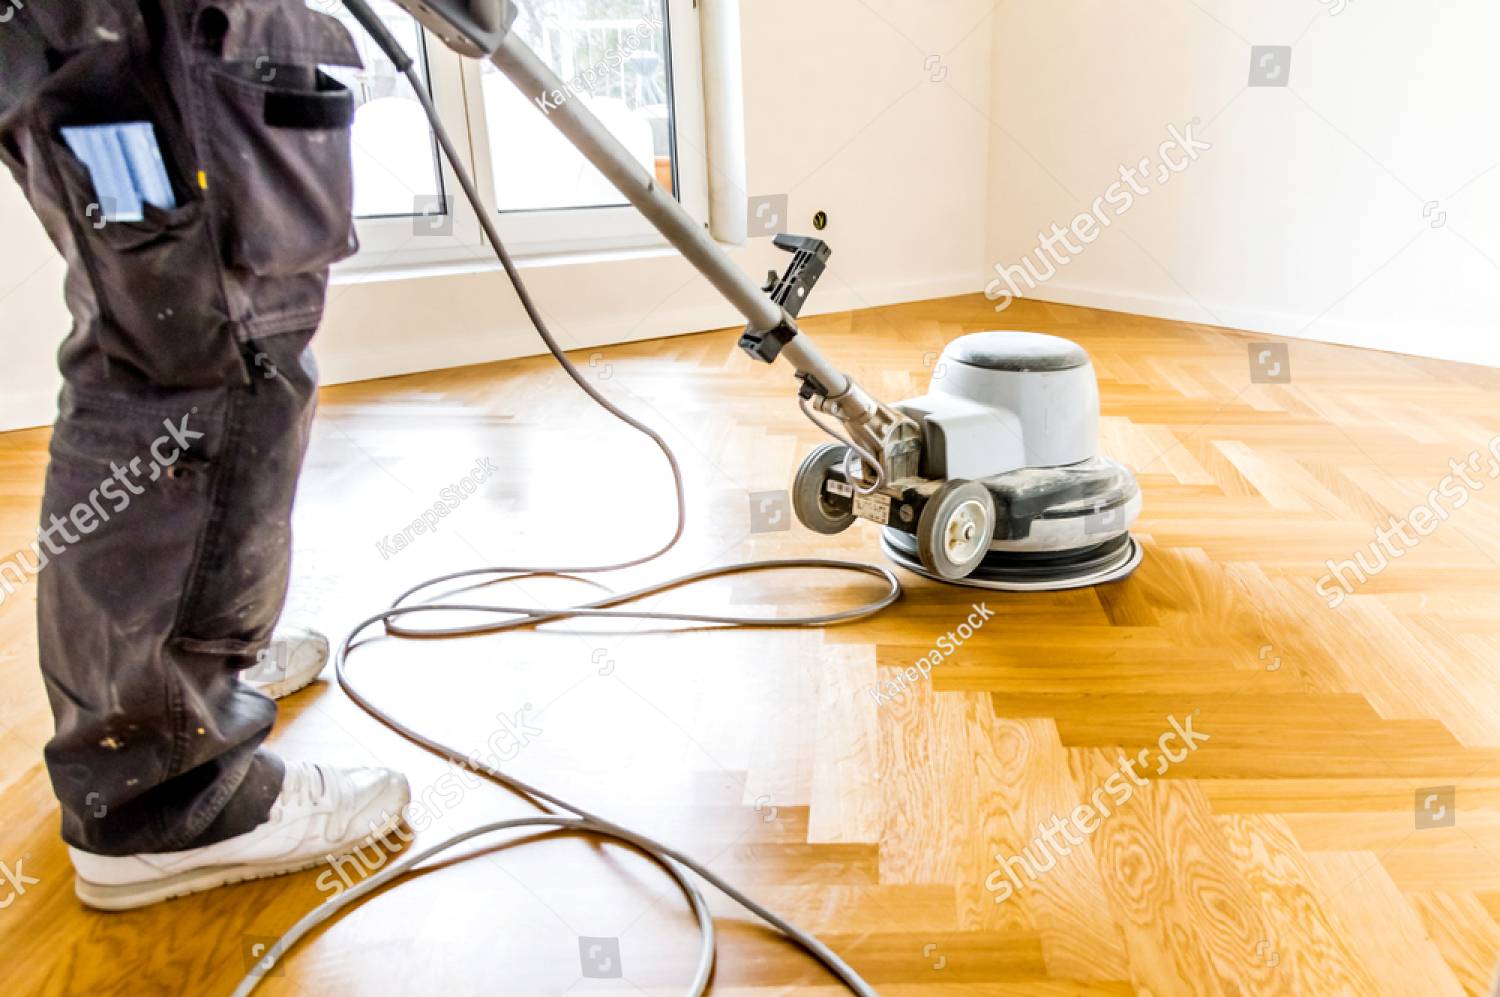
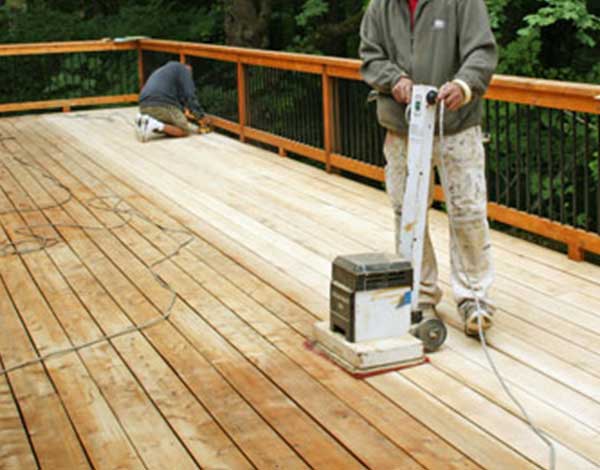
Sanding is a transformative process that can bring new life to worn and lackluster wooden floors. It involves using abrasive materials to remove the outer layer of the wood surface and get rid of any damage or wear. This process is great for reviving the appearance of your floors and giving them a refreshed look.
When to do it?
- Sanding should be done when the floor has deep scratches, stains, or dents that cannot be removed by a simple polish.
- It is also recommended to sand the floor when it has lost its luster or has become dull due to wear and tear over time.
- However, sanding should be avoided if the floor has already been sanded multiple times, as this can reduce the thickness of the wood and weaken its structural integrity.
Different types of wood have different densities and hardness, which means the sanding technique can vary.
Here are the guidelines to sand different types of wood:
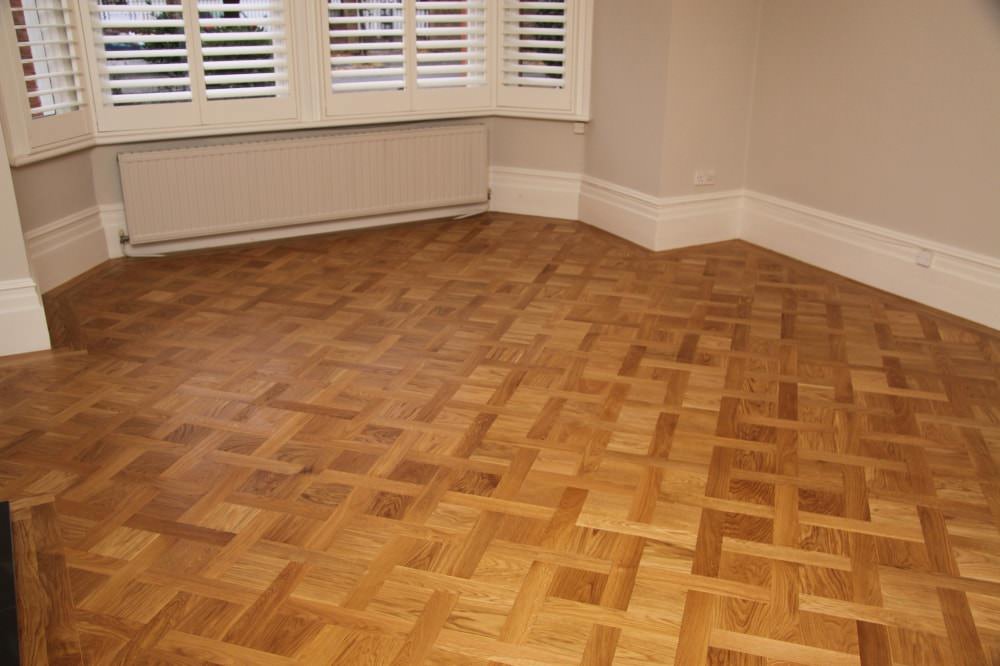
- Hardwoods (oak, mahogany, teak): Use coarse-grit sandpaper (60-80 grit) to remove scratches or dents. Then, work your way up to finer grits (120-220 grit) for a smooth, polished finish.
- Softwoods (pine, cedar): Start with medium-grit sandpaper (100 grit) and work your way up to finer grits (180-220 grit) for a polished finish.
- Exotic woods (Brazilian cherry, tigerwood): Use very fine-grit sandpaper (120-320 grit) to avoid damaging the wood’s unique grain pattern.
- Reclaimed wood (barn wood, salvaged wood): Use coarse-grit sandpaper (40-60 grit) to remove rough patches and work your way up to finer grits as needed.
- Engineered wood (laminate, vinyl plank): Do not sand. Instead, use a mild cleanser and a microfiber mop to clean the surface, and avoid using abrasive cleaning tools or chemicals that can damage the finish.
Polishing: What is it, and when to do it?
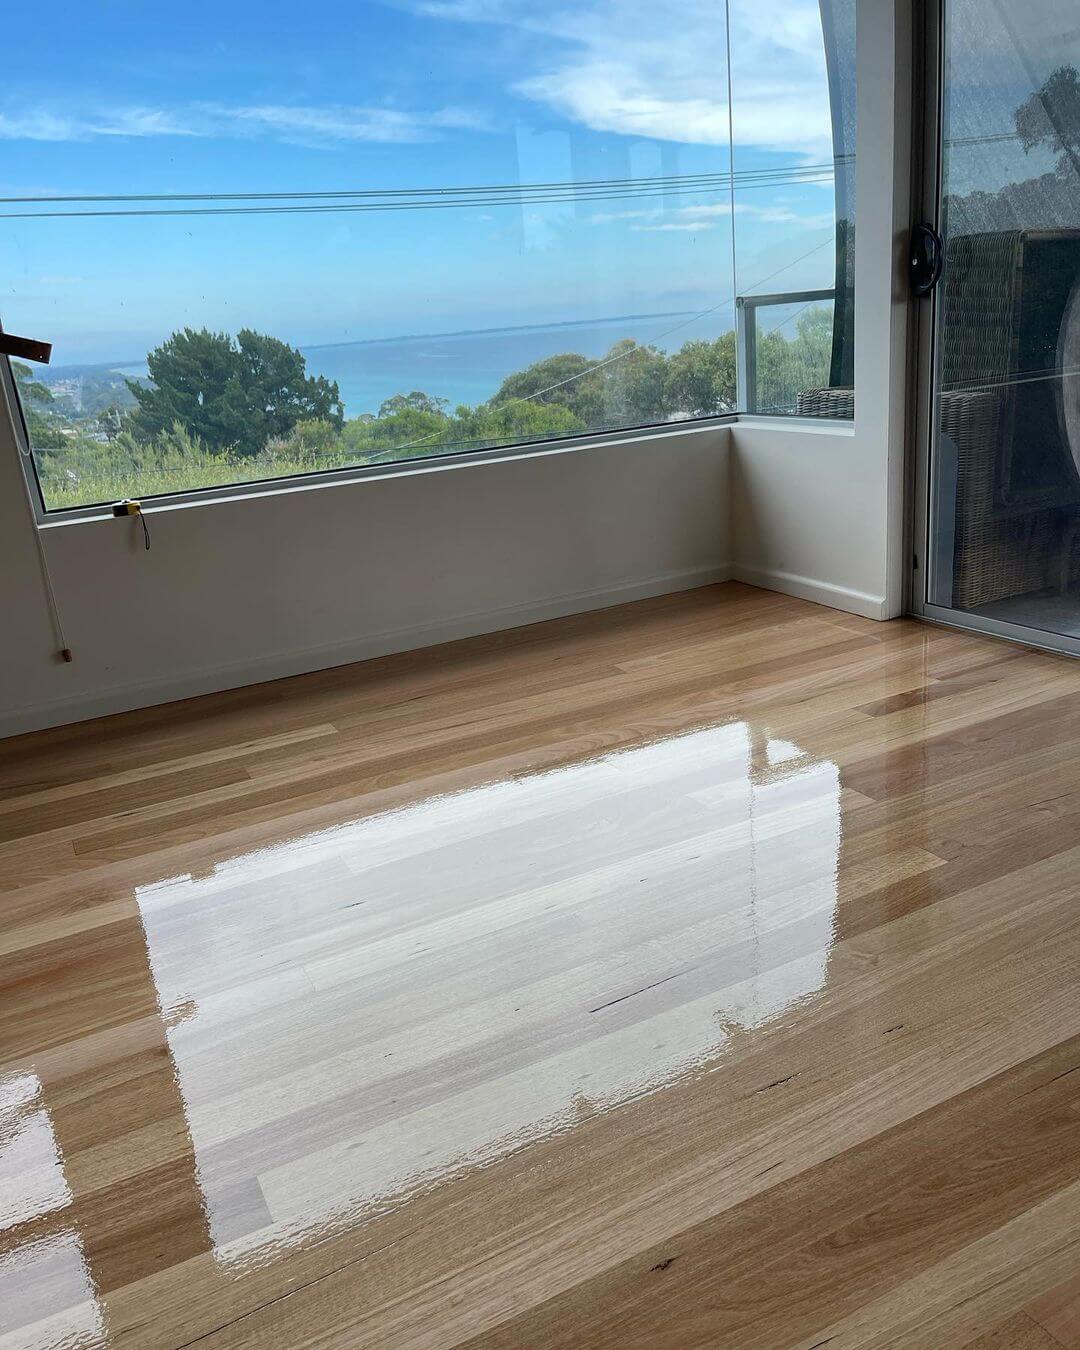
Polishing is a finishing process that can take your wooden floors from looking good to looking great. Unlike sanding, which can be a heavy-duty process, polishing is all about finesse. It’s like using a magic eraser to gently erase those tiny imperfections and reveal the true beauty of your floors. It’s the ultimate makeover that takes your floors from good to great in no time!
When to do it?
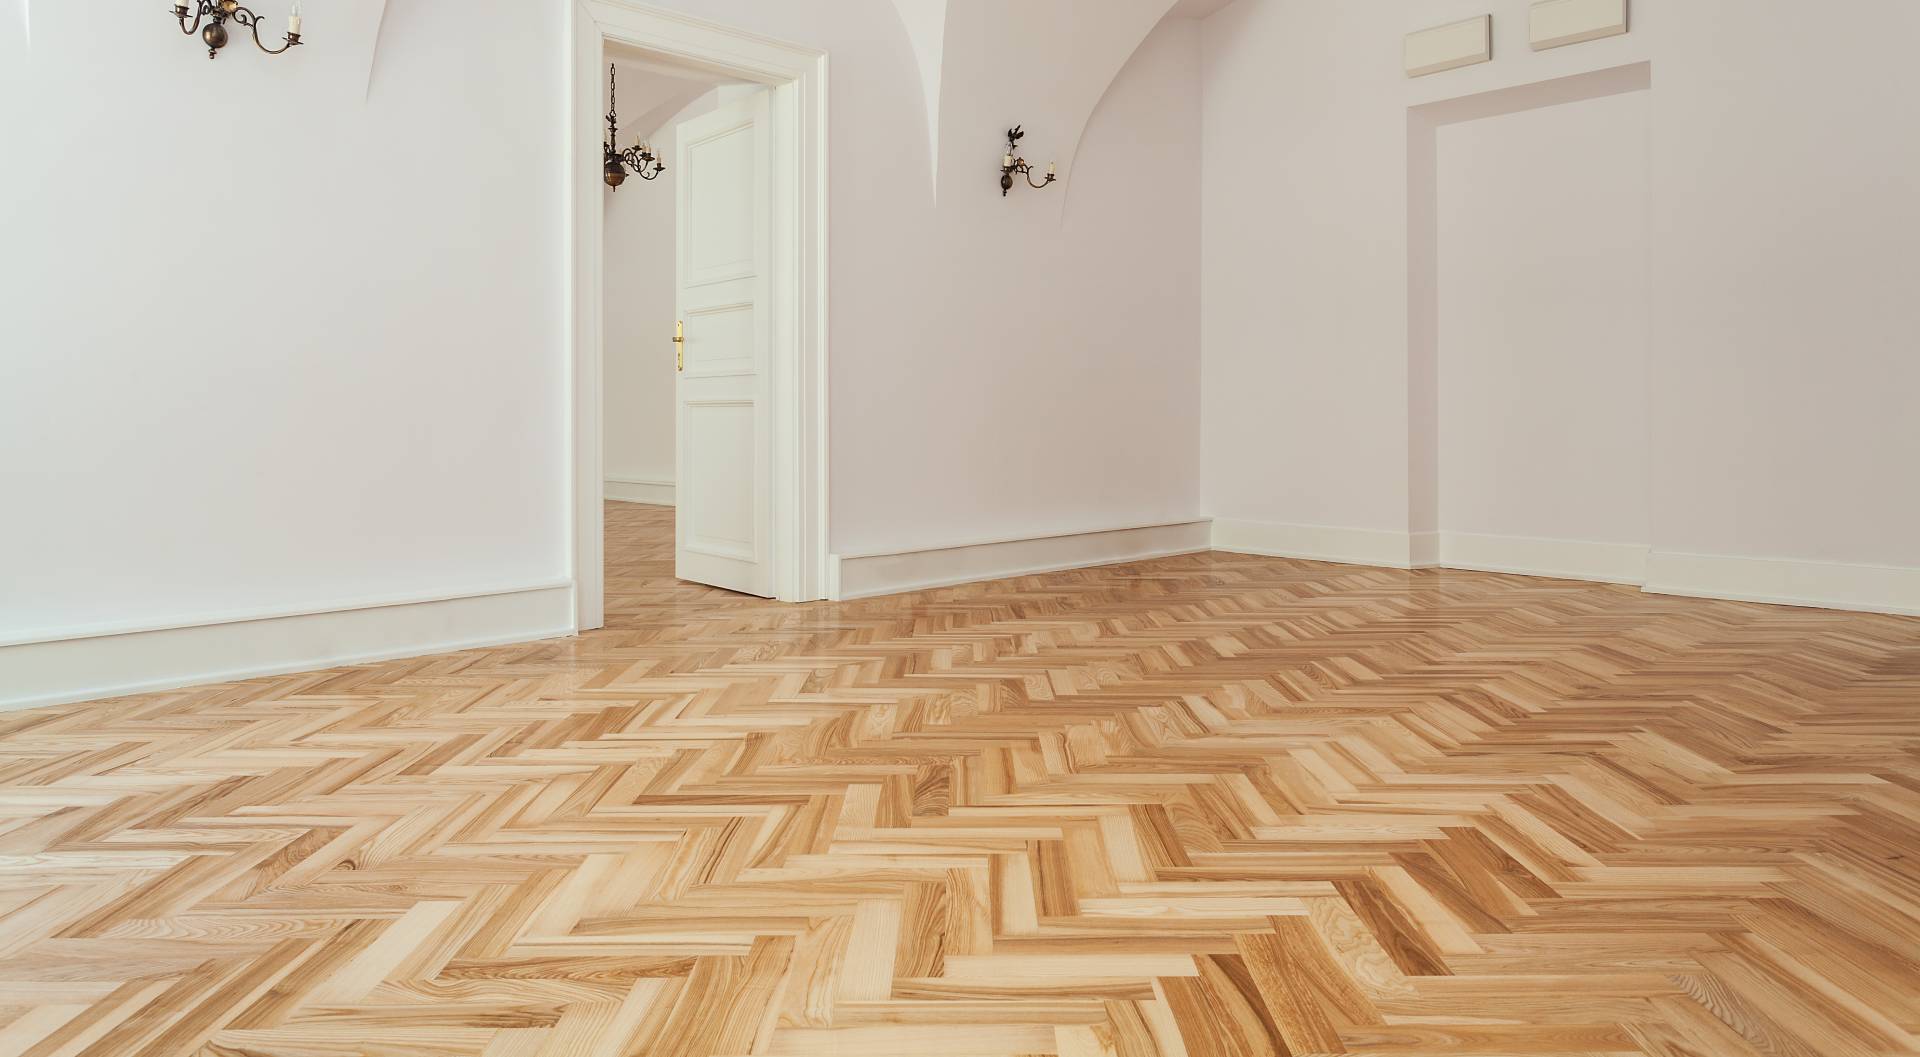
Hardwoods: For hardwood floors, begin by cleaning the surface with a damp mop to remove any dirt or debris. Next, apply a floor polish specifically designed for hardwood floors. Allow the polish to dry completely before applying a second coat for a more intense shine.
Softwoods: Softwoods like pine and cedar can be polished using the same process as hardwoods, but be sure to use a polish that’s formulated for softwoods to avoid damaging the surface.
Exotic woods: Exotic woods like Brazilian cherry or tigerwood require special care when polishing to maintain their unique color and grain patterns. Use a polish that’s specifically designed for exotic woods, and follow the manufacturer’s instructions carefully.
Reclaimed woods: Reclaimed woods may require extra attention when polishing due to its rough texture and the potential presence of lead paint or other contaminants. Use a gentle polish and apply it in thin layers to avoid creating a sticky or uneven surface.
Engineered woods: Engineered wood floors cannot be polished like solid wood floors, as the top layer is typically a thin veneer that can be easily damaged. Instead, use a cleaner specifically designed for engineered wood floors and avoid using abrasive tools or chemicals that can harm the finish.
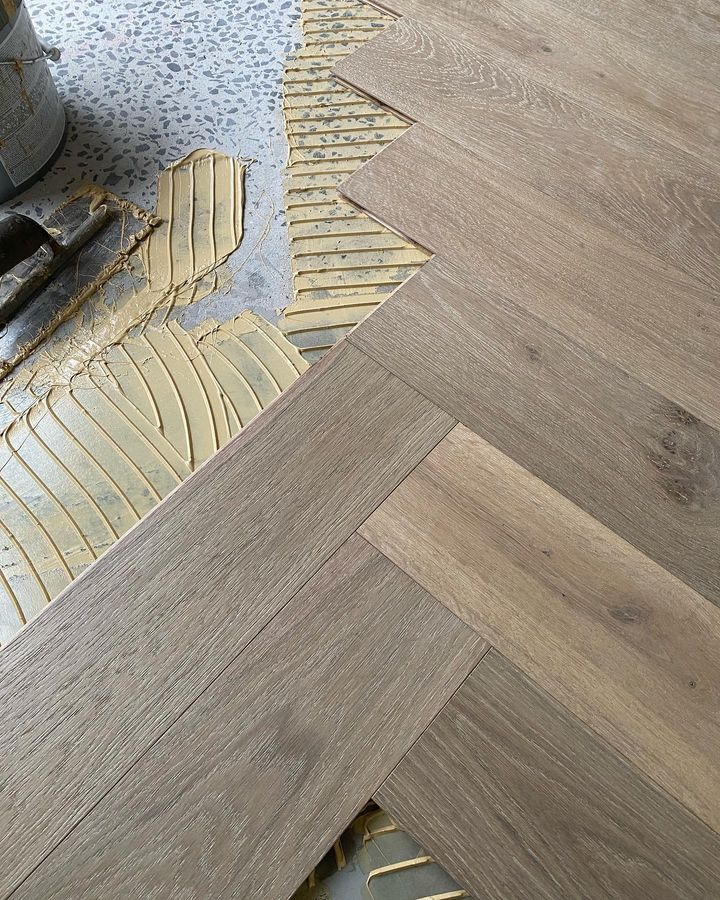
Types of Underlay for Hardwood Timber Flooring:
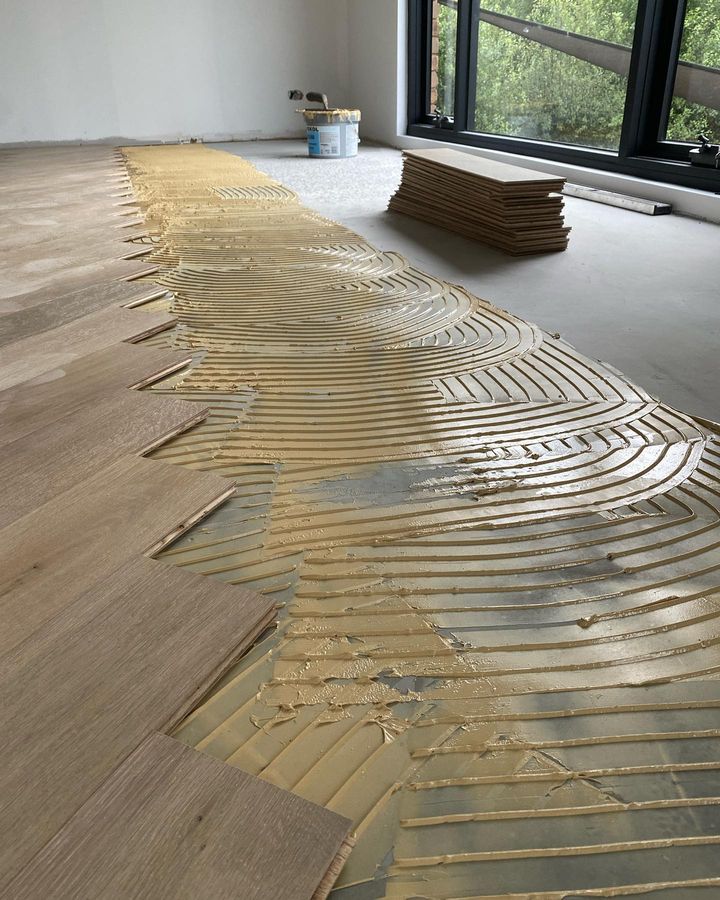
As important as it is to choose the right type of hardwood flooring for your home, selecting the right underlay is equally important to ensure a successful installation. Underlay provides a cushioned surface for the flooring, helps to absorb sound, and can protect the wood from moisture damage.
In this section, we’ll explore the different types of underlay available for hardwood timber flooring and the benefits of each.
Foam underlay: This is a lightweight and affordable option that provides cushioning and support for the flooring. It can help to reduce noise and is suitable for use on most subfloors.
Acoustic rubber underlay: This is a more expensive option, but it provides excellent soundproofing and can help to reduce noise transmission between floors. It is suitable for use in multi-story buildings and apartments where noise reduction is a priority.
Splitz pins plywood underlay: This is a specialized type of underlay that creates a stable and level base for hardwood flooring installation. It is typically used when the subfloor is uneven or in poor condition. This is installed using splitz pins and can help to level out an uneven subfloor. It’s worth noting that not all flooring installers are trained or experienced in providing this service, but Quality Timber Flooring specialists are exceptions here.
Differences Between Sanding and Polishing.
When deciding between sanding and polishing, several factors should be considered. First and foremost, the condition of the wood needs to be assessed. Sanding is best suited for floors with significant damage or wear, as it can remove deep scratches, dents, and stains. Polishing, on the other hand, is ideal for maintaining the luster of a floor that is already in good condition.
Another factor to consider is the type of wood being worked on.
– Hardwoods like oak, mahogany, and teak are often better suited for sanding because they are durable and can withstand aggressive sanding techniques.
– Softwoods like pine and cedar, on the other hand, are more delicate and may only require light sanding or polishing.
– Exotic woods like Brazilian cherry or tigerwood require specialized techniques to avoid damaging their unique grain patterns.
Ultimately, the decision between sanding and polishing comes down to the specific needs and condition of the floor in question. If the floor is heavily damaged, sanding may be the only option for restoration. If the floor is in good condition and only needs a shine boost, polishing may be the better choice. It’s important to carefully consider all factors and consult with a professional if needed to determine the best course of action.
Conclusion:
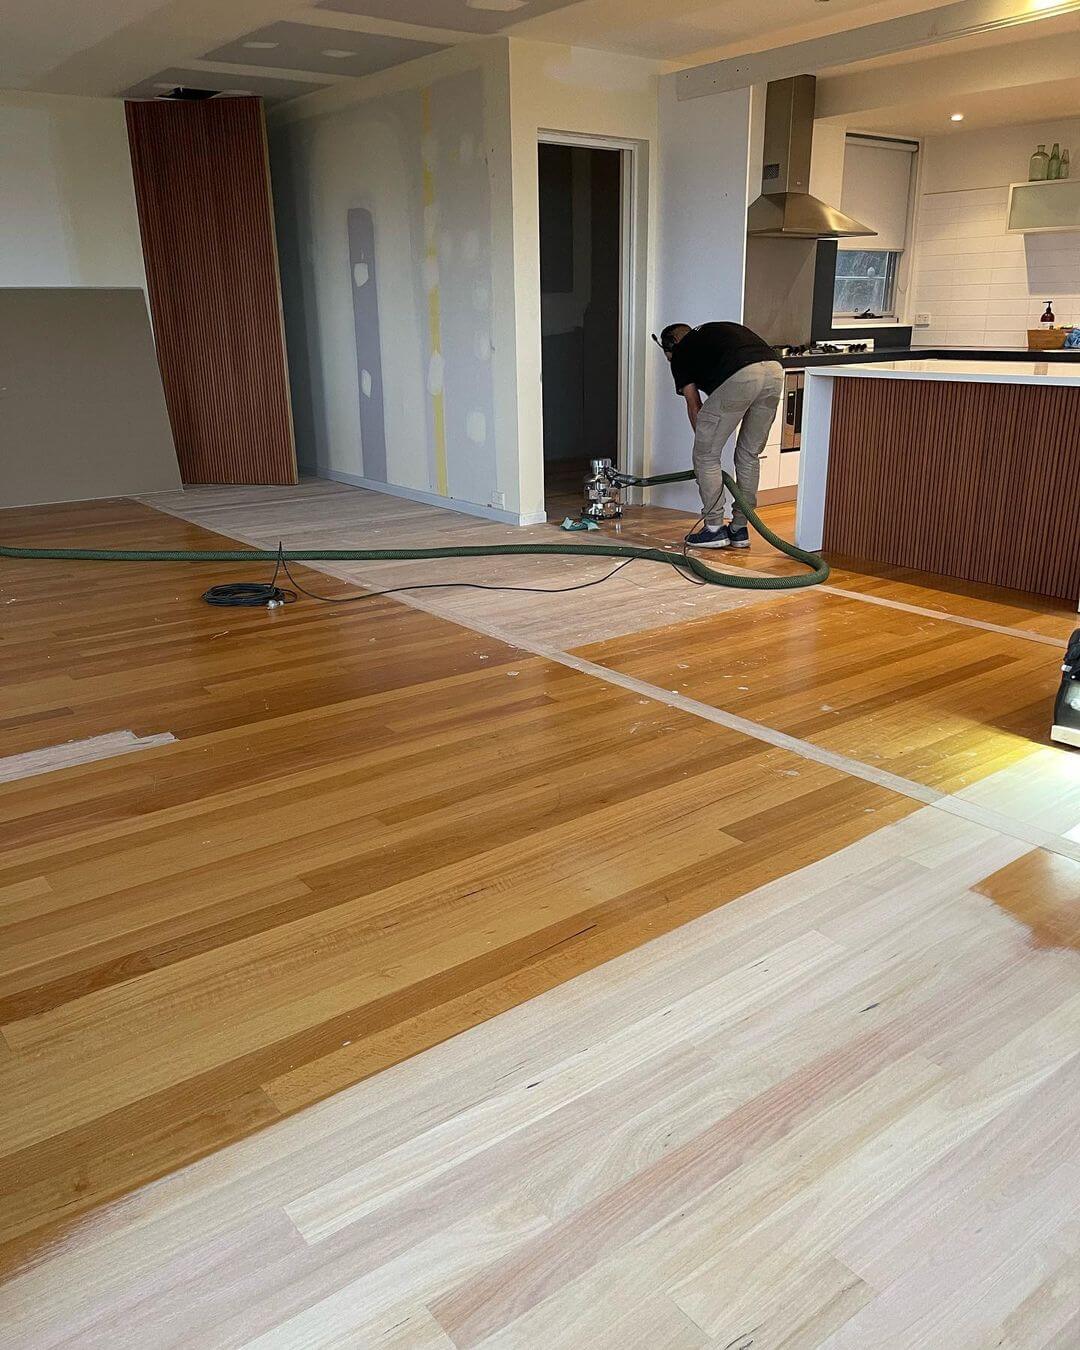
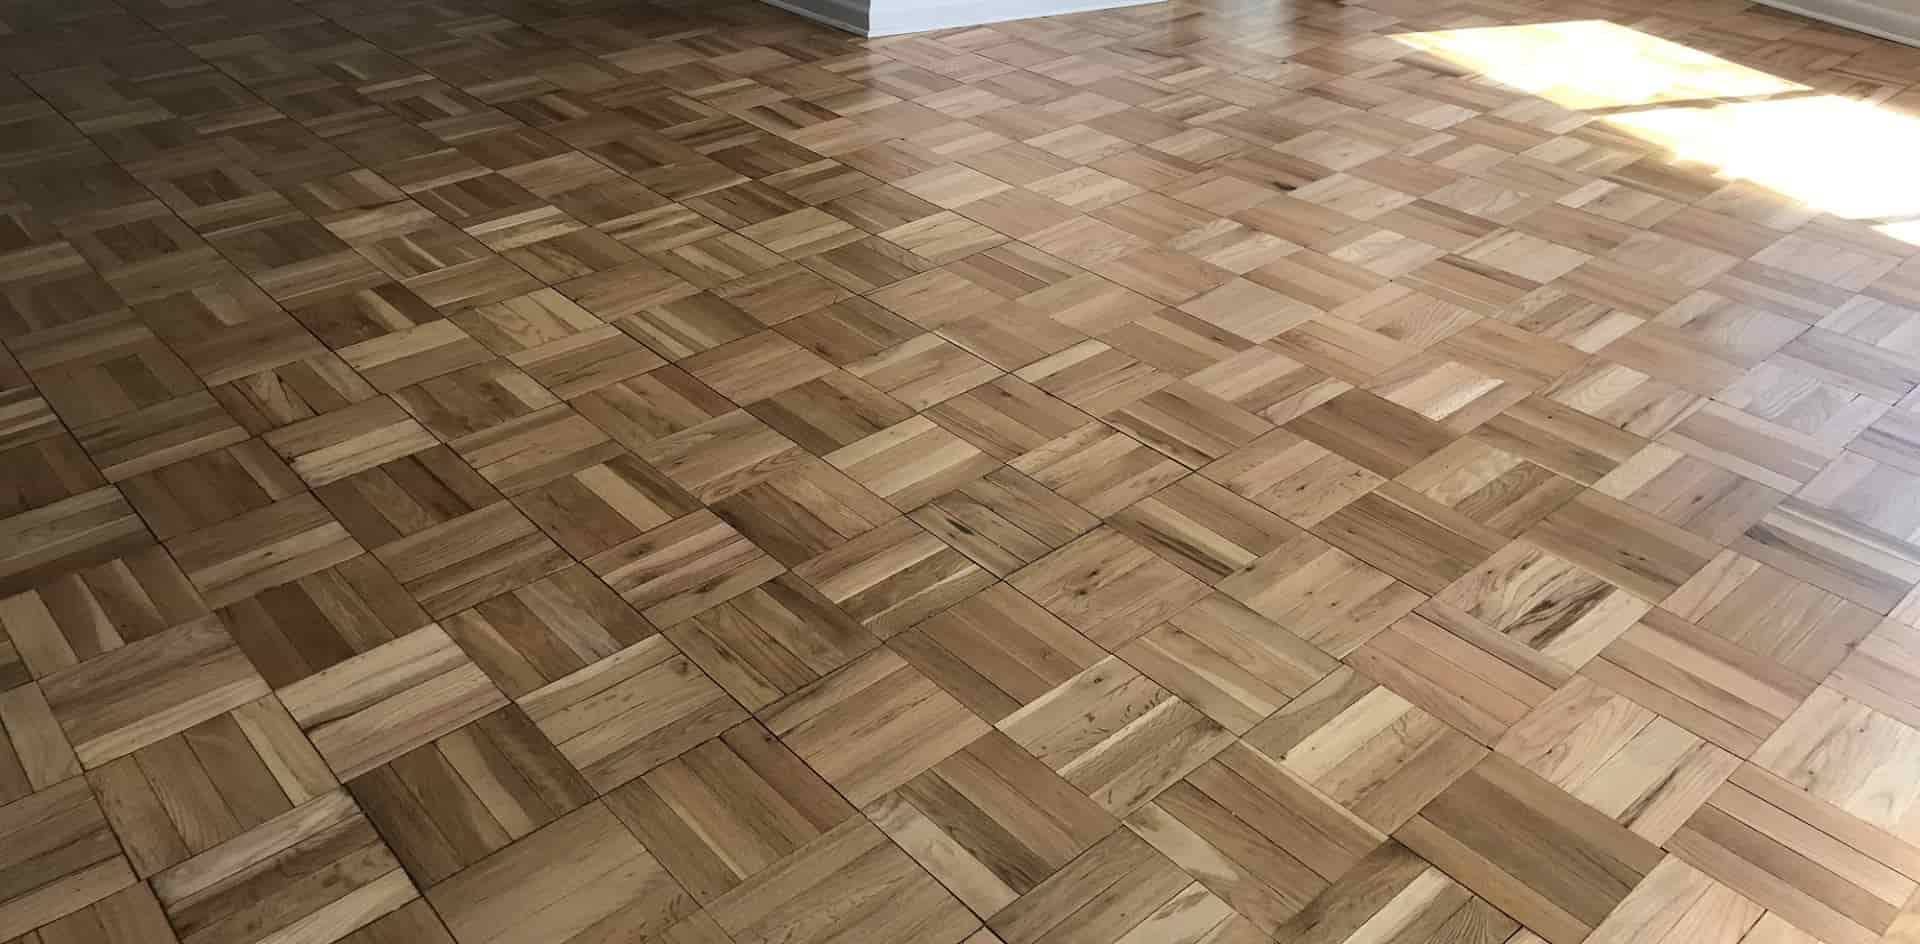
In conclusion, reviving your wooden floors is a thrilling project that can bring new life and energy to your space. Sanding and polishing are two key methods that can help you achieve the look you want. If your floors have seen better days and need some major TLC, sanding might be the way to go. However, if you’re looking to maintain shine and protect against future wear and tear, polishing is a fantastic option.
If you’re looking for a flawless finish on your wood floors in Melbourne, follow our ultimate guide to floor sanding and polishing – your go-to source for expert advice